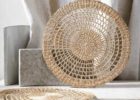
Make Gorgeous Beaded Table Mats at Home With Simple Steps
Beads offer so many possibilities and may be utilized for more than making jewelry. Little did you know that you can weave a beautiful table mat out of beads that will serve as a unique, colorful, and one of a kind decor. If you enjoy stitching many beads together, here are the supplies and easy steps to make DIY beaded table mats.
See also: Reasons to Love Tempered Glass Placemats
Materials and Tool You Need
There’s no need to spend too much time preparing the items you’ll need to prepare beforehand because they’re all easily obtainable. Small beads in two greens and white (or your preferred color) and strong white thread are the only materials for making a beautiful mat. Meanwhile, you also need to set a sharp scissor and size eleven beading needles.
A Step By Step Guide on How to Make DIY Mats
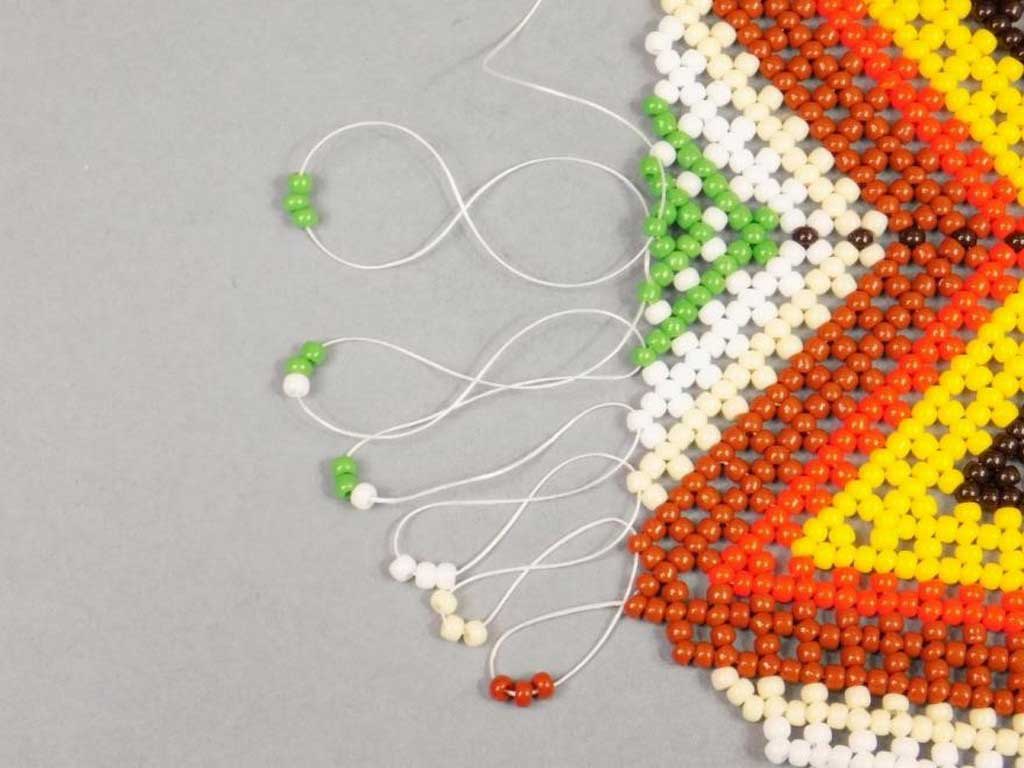
You should knot eight small white beads together in a circle using threads and pass the size eleven needle through two beads for the first row. Following the first row, take three more beads. Place white, dark green, and white beads for beaded table mats in sequence before stringing them together.
Insert your needle into the second bead. You have to repeat this procedure three times, passing through each bead in between. You should have a little square after completing the previous step. Furthermore, if you finished the first two rows successfully and have a small square, you should proceed to the third row.
Pass through a succession of two light greens, dark green, and two light green beads. Repeat until you’ve finished the entire row. The next step for the fourth row is to pass the needle through the previously strung bead so that it emerges before the third row’s dark green bead.
String the beads for beaded table mats in the following order, light green, dark green, light green, and then pass the needle through five beads from the previous row before the dark green of the third row. Repeat this again until the entire row is finished. Once finished, continue to the next row.
The tread emerges from dark green in the row, which is set above another dark green bead. Pass this series of dark green, white, dark green beads over every dark green bead protruding out. Keep doing this again and again until your bead mat is ready. By the time it’s finished, you’ll get a beautiful and colorful DIY mat.
Some Useful Tips to Know
The first tip you may find helpful while making DIY beaded table mats is never to draw your thread too tight because the beads require enough room to sit properly. Furthermore, you may also attach an additional thread by passing it through many beads from preceding rows if your thread is too thick to pass through the beads.
All in all, you’ve learned how to make a beautiful mat at the end of the day. You can weave and choose other colors to create another lovey mat because the bead color range provides unlimited possibilities. Just keep in mind not to draw your thread too tightly to produce a flawless outcome.