Easy to Make, 4 Simple Steps on Making a Table Runner for Beginners
Table runners give any table setting an extra depth of color and pattern. Thus, having one or two that blend nicely with year round decor may make even ordinary meals feel more special. To have a budget friendly runner, you can try making a table runner on your own. Check out this tutorial on making a runner to give your dining area a makeover!
See also: Get To Know The Characteristic Of Mexican Floral Table Runner
A Step By Step Guide On How To Make A Runner For Your Dining Table
1. Determine Measurements And Select The Type Of Table Runner You’d Love
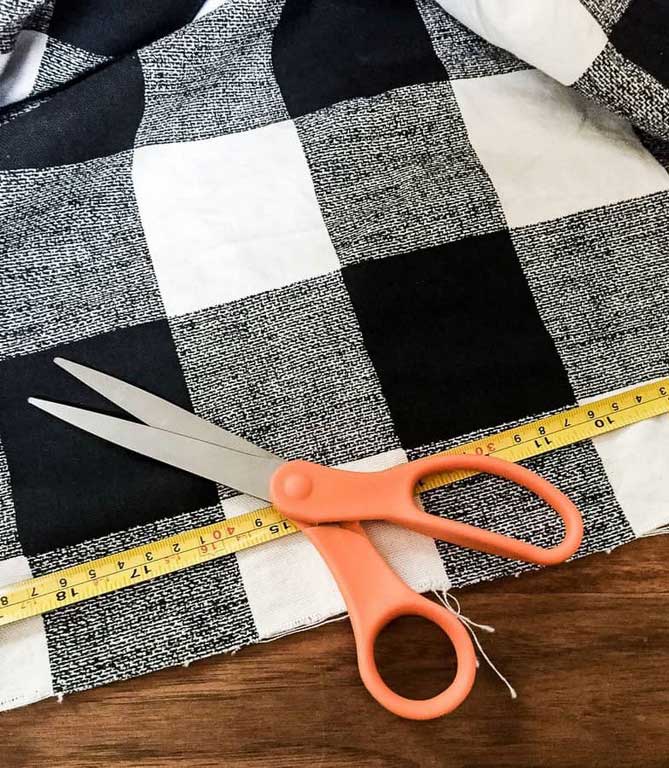
The ideal size of a runner is to add 30 cm to the length of your table’s length, so you’ll have around 15 cm overlap on each end. Meanwhile, the typical widths range from 25 to 38 cm. The runner should be one third the width of your table. So take the width of your table and then divide it by three.
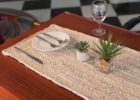
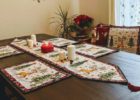
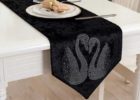
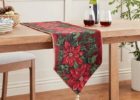
The most popular types of table runners are classic rectangular table runners, and the one with making a table runner has pointed ends. The rectangular type can be double layered and reversible. Table runner with pointed ends type has pointed triangular ends to which a tassel can be added.
2. Instructions On How To Make A Rectangular Table Runner
The first step is to cut two pieces of fabric for the front and back and one piece of interlining from interfacing, fusible fleece, or batting. Fuse the interlining to the wrong side of the back piece of cloth and then put the right sides of the front and back together. Stitch around the perimeter, leaving a 7.5 cm space on one of the long sides.
Afterward, turn to the right side after clipping the corners. Then, the next step of making a table runner is to apply a lot of pressure by pressing it and ensuring the inside seam gap is flattened. Stitch the table runner’s edge with the topstitching technique. Stitching a gap of 6 mm or smaller will close it without hand stitching.
3. Instructions On How To Make A Rectangular Table Runner With Pointed Ends
Cut your material 2.5 cm larger than the finished size. Turn the piece over to the wrong side and press the raw edges of the long sides over by 0.6 cm. Repeat the same process by 2 cm. Then, you can stitch the long hemmed edges all the way around.
Place the raw edges of the runner together at the ends and sew with a 1.2 centimeters seam is the next step on making a table runner. Use a zig zag stitch to finish the seam. Make a triangle with the edge by pressing it to the right side. You can add tassels on each edge for a premium look and a splash of color.
Making a DIY runner will save you money and give you a sense of accomplishment. All you have to do is determine the perfect measurements and select the type to match your table settings. And the last step is to follow the rest of the instructions thoroughly.